
Professional product photography editing services.
Have you ever wondered why the burgers or steaks you see on brochures, even when they’re set on a somber background, look absolutely ravishing? Or why products on online shops basically jump out of the screens with their sharp and beautiful colors, but when you receive them, they look pale and not as pretty? Unlike those big restaurants, food chains, or online shops, you don’t have to hire a professional photographer to produce pictures of your products with the same quality. Let this ultimate guide to beautiful professional product photography show you how.
Be Prepared! Organize! for Professional Product Photography
Prepare a list of the products you have to take pictures of, including any angle you might need to take. It might not mean much in the beginning, but if you have a lot of products on your line up, a simple organization will help you streamline the process. This will also help a lot of you’re using natural light. You should also take the time to line up all the tools you’re going to need. Make sure everything you require is within your reach and accessible but also out of your way. If you make a way out of this, you can focus more on taking your beautiful pictures.
The Camera
We have all seen the pictures of professional photographers and their intimidating and expensive looking set ups. The good news is that taking beautiful pictures do not have to cost so much these days. Some of the newer smartphones have cameras that are enough for your needs. However, if you’re budget allows it, you can buy even a basic DSLR and it would be enough. If you’re using a DLSR, use the Auto White Balance function. On your smartphone, turn off any filters and you’re good to go. Some of the best product photographers recommend f/8 as your aperture, keeping your ISO as low as possible (with considering your light source. The slower the shutter speed, the better colors your camera produces. So make sure your camera is stable by using a tripod.
Your White Backdrop

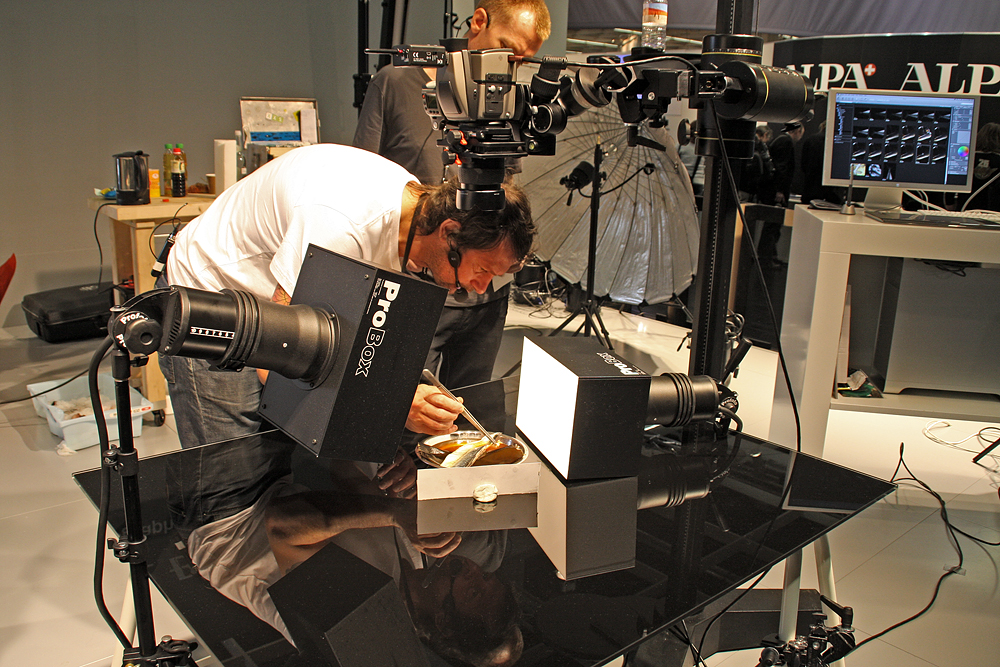
Image Source: photomanhattan.com
Most of the time professional product photography will be completed by the commercial photographers. As a result, professional product photographers use white backdrops, or a “sweep”, because white reflects light. This helps your camera distinguish your products’ colors more, producing truer and sharper colors. It also makes it easier for you to adjust your camera’s settings. If you can’t afford to buy a “professional sweep”, you can make one for yourself. Just make sure that your sweep is bigger than your biggest product. You can use a plain white blanket or paper. However, if you have to take pictures of a bigger product, you can prop your sweep on the wall with some clamps, or preferably a stand.
Let There Be Light!
Choose your light source wisely. If you have only a few products to take pictures of, you can use natural light. However, you’d have to be time-sensitive as the natural light goes so fast. Position your sweep near the window with the light coming from one side and a reflector (or a white paper) on the direct opposite side of the window. This will minimize any harsh shadows while balancing the lighting on your product. If you’re ready to shell out a few more bucks, and you’re willing to have a permanent studio, then go for artificial lighting. Photography stores have lighting kits that can help you. Or you can set up lamps of equal brilliance on top and the two sides of your product, making sure to keep them lower to the ground to minimize harsh shadows.
Shoot a Variety of Images from Varying Angles!
Fortified with this knowledge, you can now get started. Line up your products and start shooting. But be patient. They may not be perfect right away, but with lots of practice and determination, you will become better. In time, you will see the fruits of all your hard work pay off. Enjoy!
Process Your Picture
While Adobe Photoshop is still the go-to for image editing & retouching service, there are a number of free image manipulation software or even websites that will help you. First off, you have to remove your background. This is why a white sweep is important. It makes image manipulation easier. Your pictures will show a slightly gray background in your pictures. You use a “Pen” tool on your software to select your product and remove the background, replacing it a white background. Save your files as JPG or PNG.